Rendering Blender Animations in Python Notebooks Using bpy
Rendering Blender animations directly in Python notebooks bridges the gap between 3D visualization and interactive coding environments.
I recently saw a demo of blender being used inside of a notebook and was really impressed. kolibril13 put together a great doc outlining what this process looks like from installation to examples.
This post will cover
- what the Blender Python Module (
bpy) is - how we can use it to render Blender images, videos, and GIFs to display inside of a notebook.

Blender Python Module (bpy)
We will be using the Blender Foundation’s Blender Python Module, bpy. This module allows us to control the Blender instance running through python and what we will be using to trigger our renderings. With bpy you have full access to the Blender Python API.
Note: to get this to work you currently need 3.11.*
Blender is the free and open source 3D creation suite. It supports the entirety of the 3D pipeline modeling, rigging, animation, simulation, rendering, compositing and motion tracking, even video editing. This package provides Blender as a Python module for use in studio pipelines, web services, scientific research, and more.
Meta
* License: GPL-3.0
* Author: Blender Foundation
* Requires: Python ==3.11.*
Blender rendering and display in a notebook
Seeing Blender integrated into a notebook opens up interesting possibilities for data visualization, teaching materials, and quick prototyping in 3D.
There are a few different ways to render and show the results in the notebook:
- as an image
- as a video
- or as a GIF
Let’s step through examples of rendering a simple rigged model.
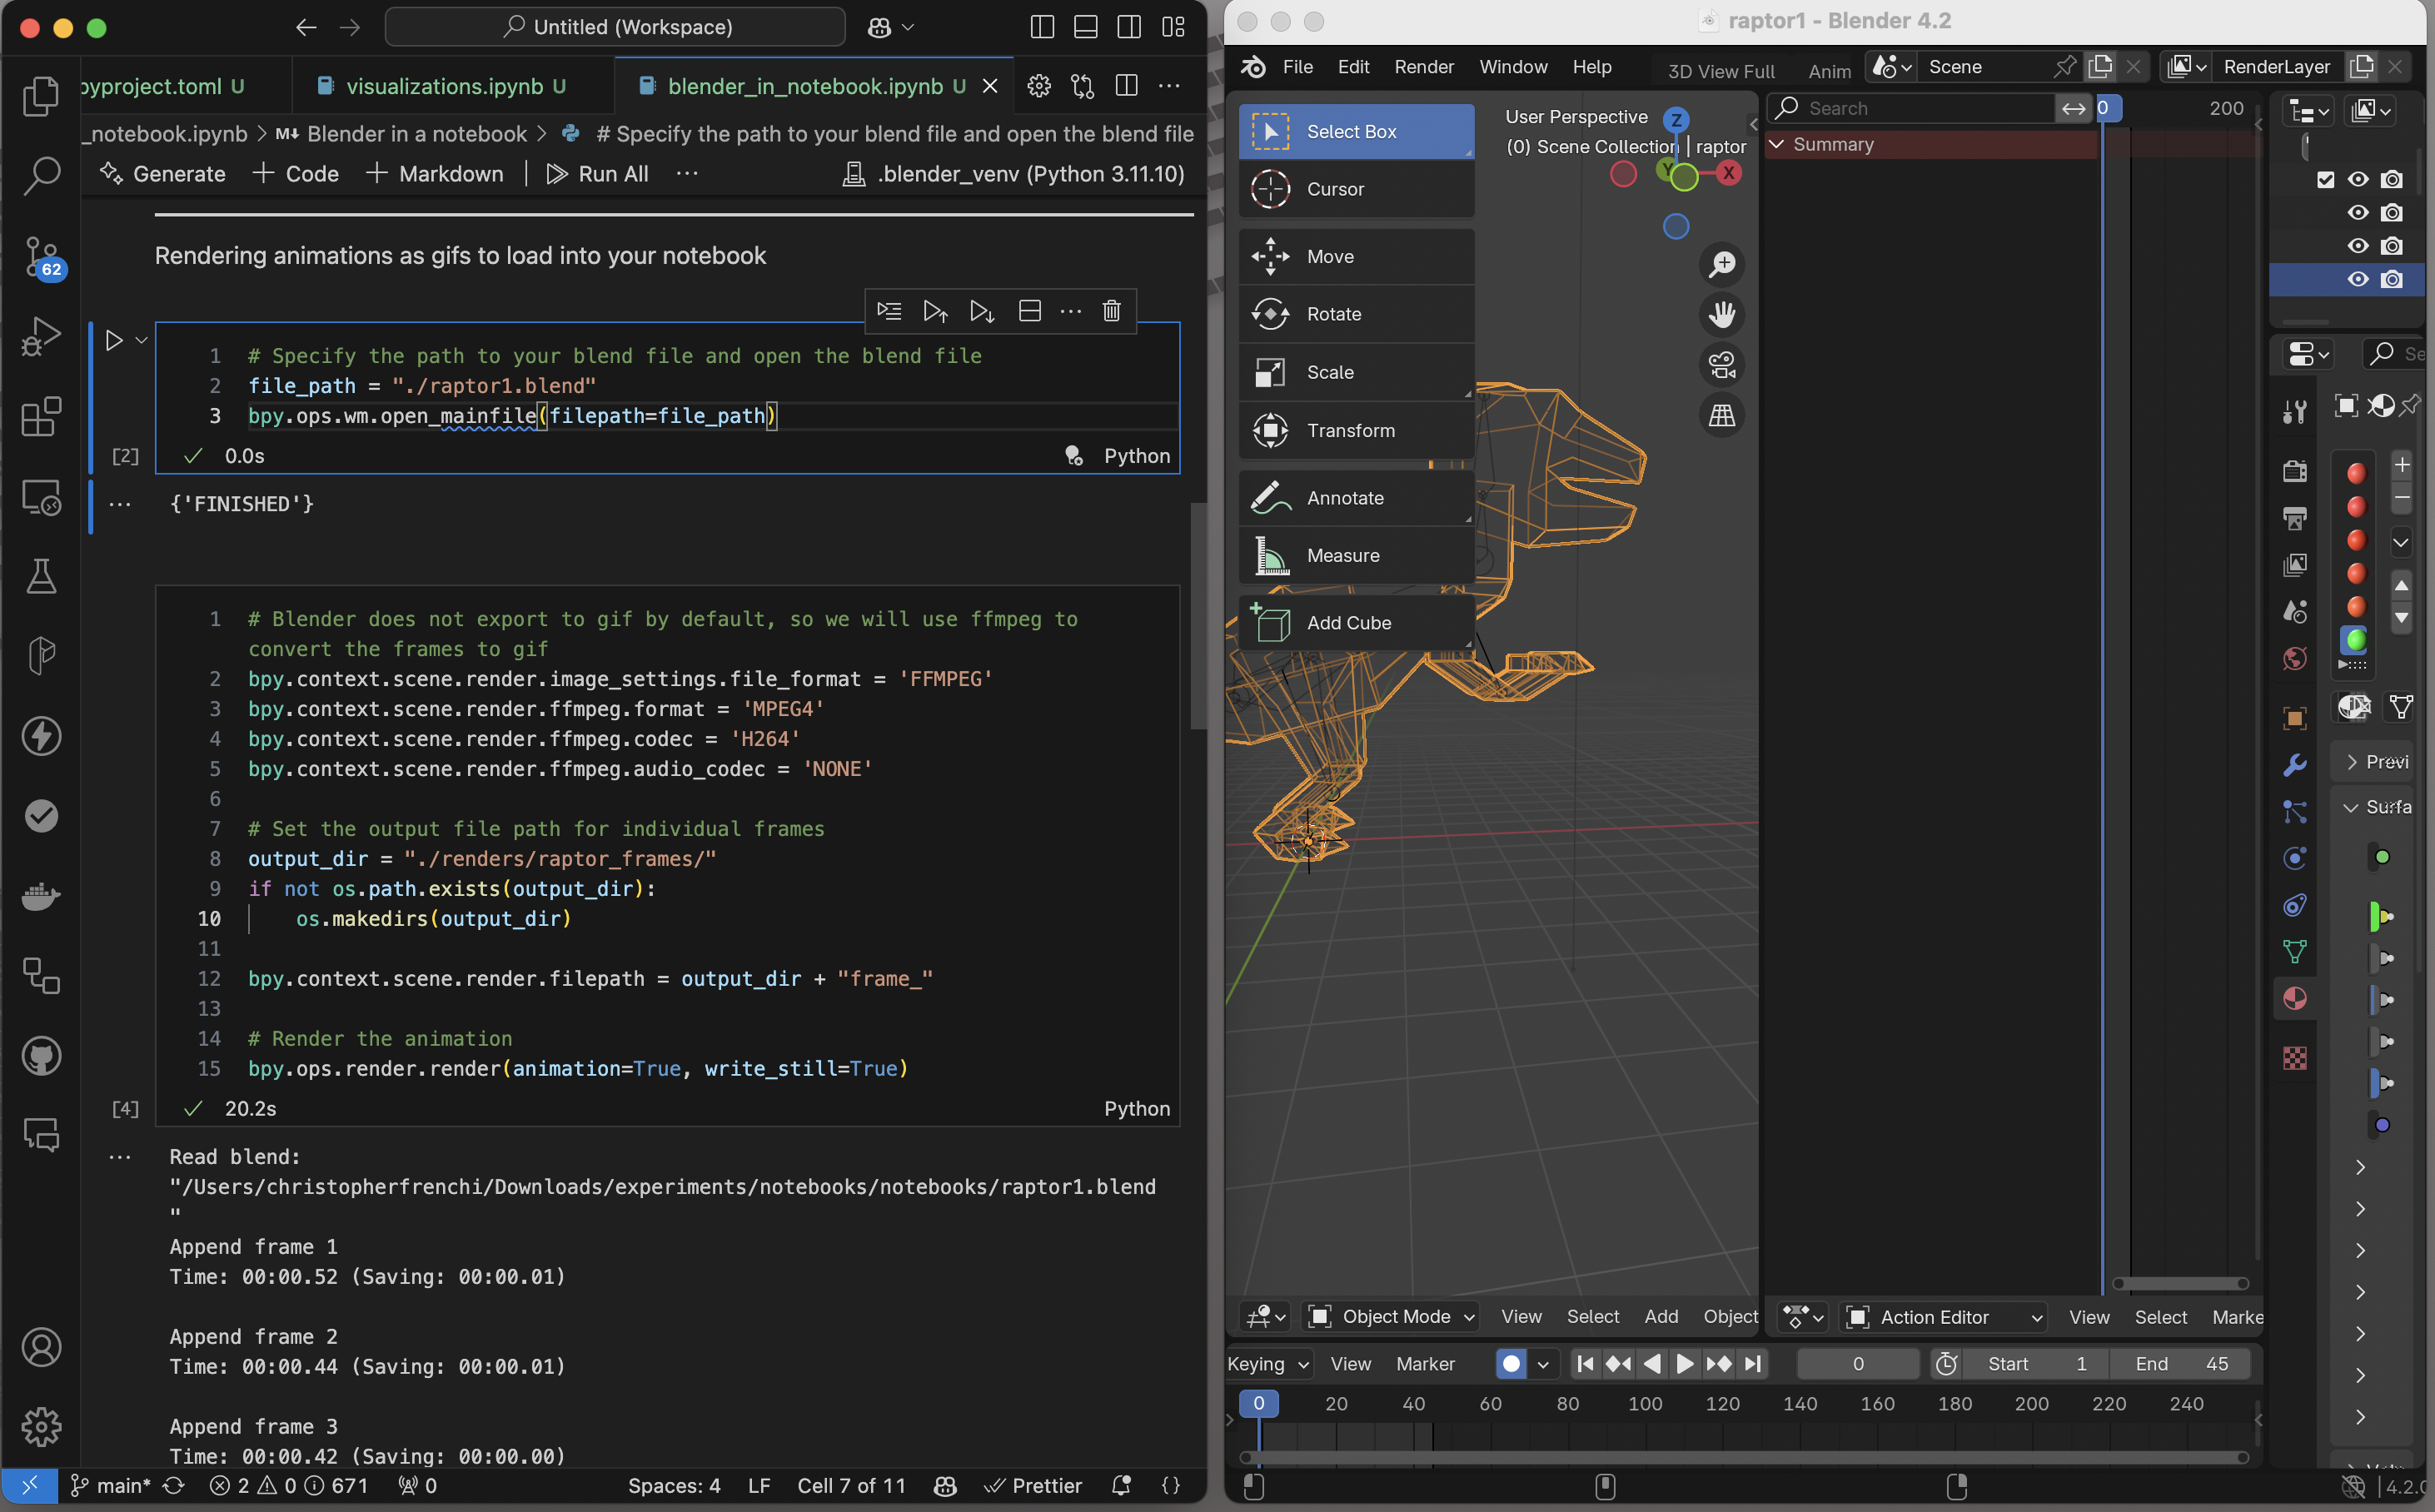
Start by loading a blend file with animations. I used a rigged model of a dinosaur animated with keyframes that I created years ago called raptor1.blend.
# Import the Blender Python Module
import bpy
from IPython.display import display, Image, Video
import os
import subprocess

# Specify the path to the blender project file
file_path = "./raptor1.blend"
bpy.ops.wm.open_mainfile(filepath=file_path)
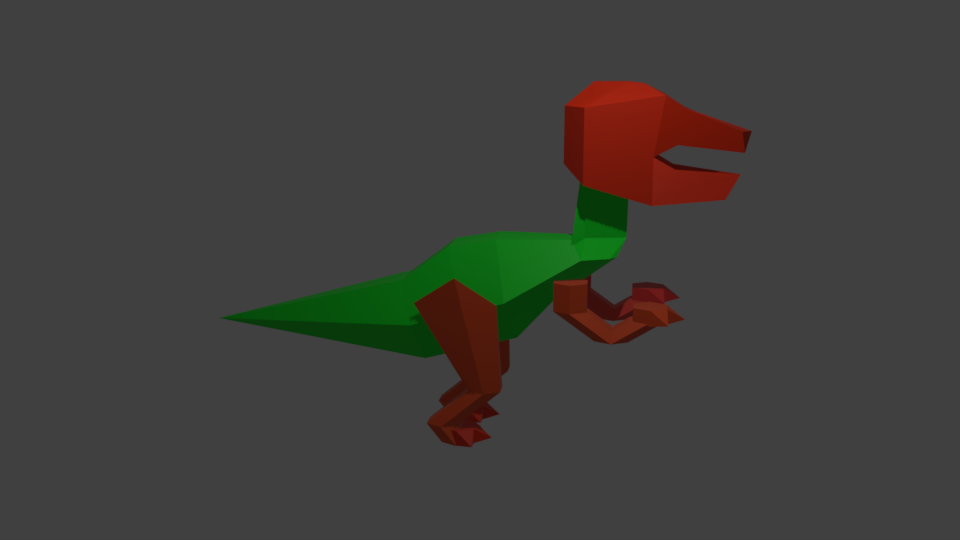
The following is the first model I ever created a skeleton for, rigged, and animated through keyframes. Wherever you are in your journey, remember, “Embarrassment is the cost of entry.”
Render as an image
# Render and display as an image
bpy.ops.render.render()
bpy.data.images["Render Result"].save_render(filepath="./renders/raptor.png")
display(Image(filename="./renders/raptor.png"))

Render as a video
# Set the render format for the animation
video_path = "raptor.mp4"
bpy.context.scene.render.image_settings.file_format = 'FFMPEG'
bpy.context.scene.render.ffmpeg.format = 'MPEG4'
bpy.context.scene.render.ffmpeg.codec = 'H264'
bpy.context.scene.render.ffmpeg.audio_codec = 'NONE'
bpy.context.scene.render.filepath = video_path

# Render the animation
bpy.ops.render.render(animation=True)

display(Video(filename=video_path, embed=True))
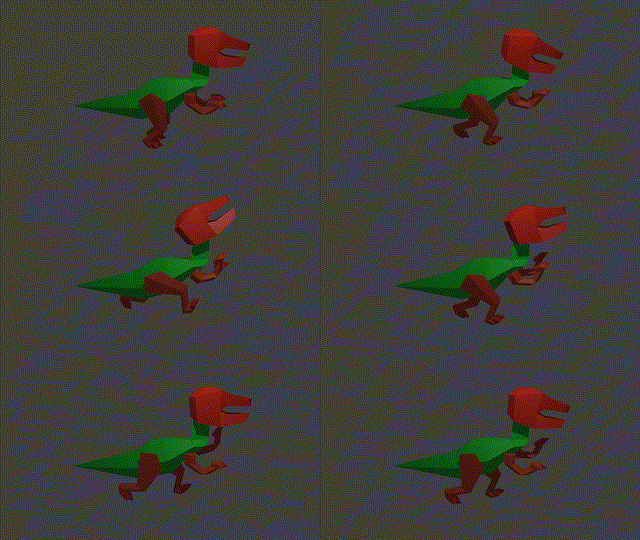
Render as a GIF
Blender does not natively export animations to GIFs, but using tools like ffmpeg, you can create high-quality GIFs from rendered frames.
# Set output format for rendering
bpy.context.scene.render.image_settings.file_format = 'FFMPEG'
bpy.context.scene.render.ffmpeg.format = 'MPEG4'
bpy.context.scene.render.ffmpeg.codec = 'H264'
bpy.context.scene.render.ffmpeg.audio_codec = 'NONE'


# Set the output file path for individual frames
output_dir = "./renders/raptor_frames/"
if not os.path.exists(output_dir):
    os.makedirs(output_dir)

bpy.context.scene.render.filepath = output_dir + "frame_"


# Render the animation
bpy.ops.render.render(animation=True, write_still=True)

# Blender does not export to gif by default, so we will use ffmpeg to convert the frames to gif

# Use ffmpeg to create a GIF from the rendered frames
gif_path = "./renders/raptor.gif"
ffmpeg_command_gif = [
    'ffmpeg', '-y', '-i', output_dir + 'frame_%04d.png',
    '-vf', 'scale=320:-1:flags=lanczos', '-c:v', 'gif', gif_path
]
subprocess.run(ffmpeg_command_gif, stdout=subprocess.DEVNULL, stderr=subprocess.DEVNULL)

display(Image(filename=gif_path))

Wrap up
It is pretty cool to see how you can bring Blender into a notebook. With full access to the Blender Python API, you have the ability to make changes and update your Blender project from your notebook. Whether you’re an animator, researcher, or developer, this tool could add a new dimension to your workflow.